In next steps you will find instruction for flashing new firmware version on GLAMOS Walker
- Download GLAMOS_flash_package folder from this link support provided
- Extract/unzip folder => find downloaded folder -> right click of mouse -> Extract all…
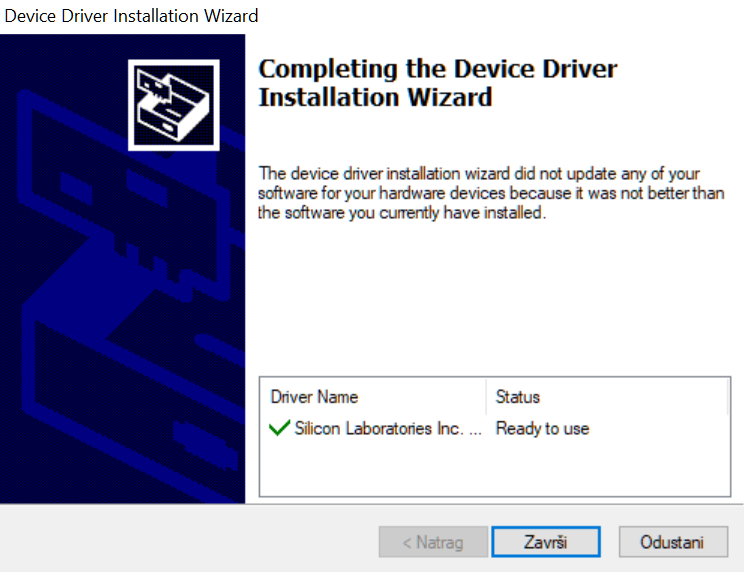
- Open GLAMOS_flash_package folder -> open CP2102_Windows_Drivers folder -> install CP2102 driver by running CP210xVCPInstaller_x64.exe file. Follow step until you get message as on the photo bellow. Maybe you will need to restart your computer after installation of driver is done.
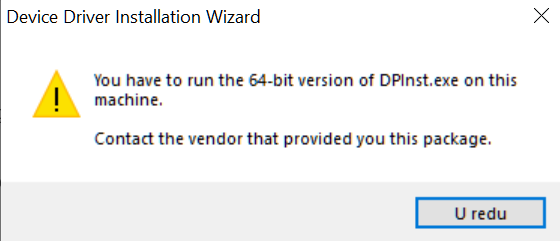
NOTE: If you get warning message as on photo bellow, then run file CP210xVCPInstaller_x86.exe
- Turn ON device and connect to computer using USB cable from package.
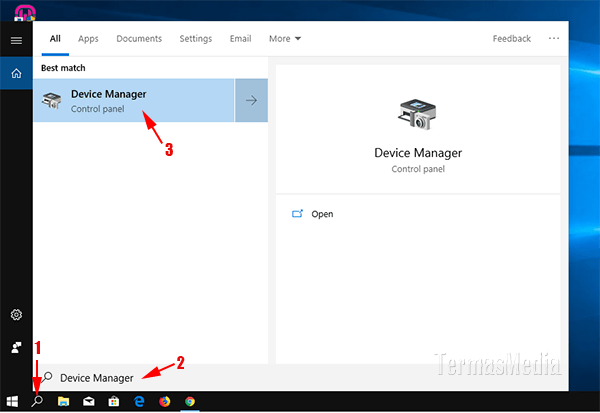
- Open Windows Search (find it in Start or use keyboard shortcut WindowsKey+S) -> type Device Manager. (see photo bellow)
- In Device Manager find PORTS. There you should see Silicon Labs CP210x USB to UART Bridge (COM10) or something similar. Remember number next to COM. (In case on photo bellow it is COM10 but in your case it can be some other number).
If you don’t see “Silicon Labs…” in port check did you connect cable correctly or try to restart computer.

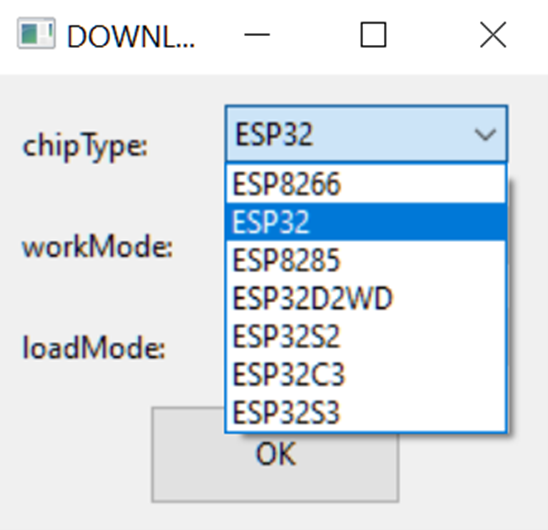
- Open GLAMOS_flash_package folder -> open Flash_tool folder-> run Flash_Tool_App.exe

- As ChipType choose ESP32 (not ESP8266) and as WorkMode choose develop
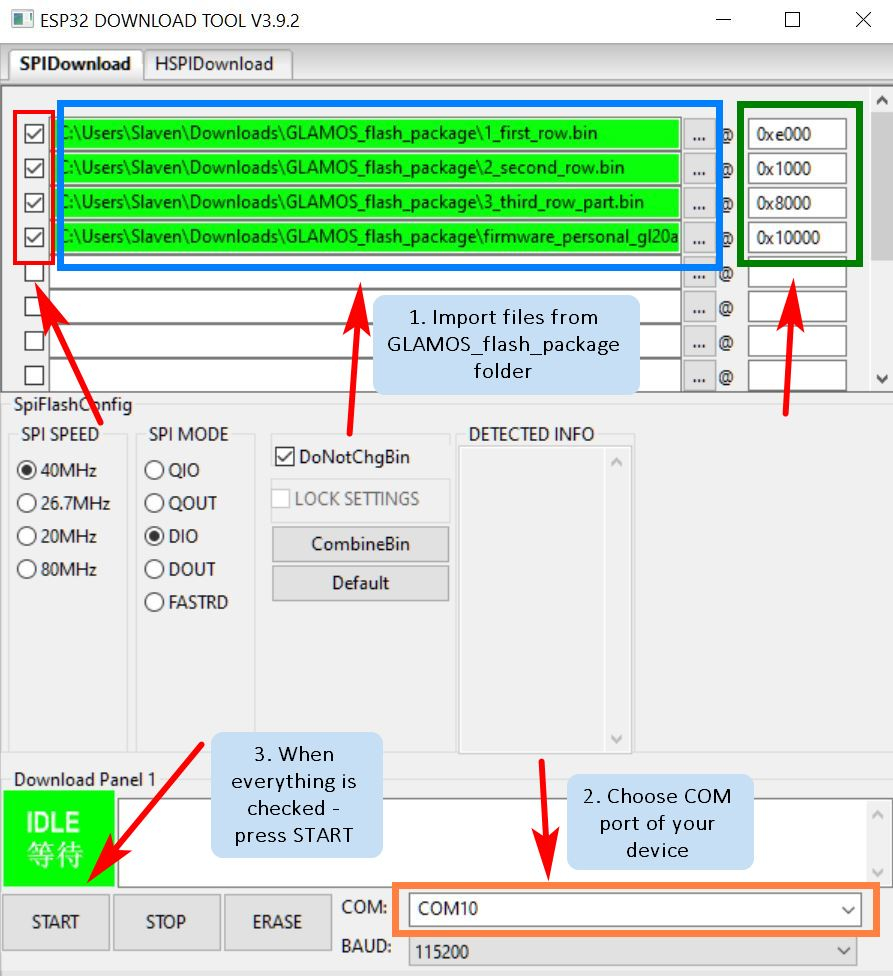
- Now you will choose files from GLAMOS_flash_package folder.
See photo below these steps if you need help.
- 9.1 Click 3 dots in first row and choose „1_first_row.bin“ file. In right column should be 0xe000.
- 9.2 In second row choose „2_second_row.bin“ file. In right column should be 0x1000
- 9.3 In third row choose „3_third_row_part.bin“ file. In right column should be 0x8000
- 9.4 In fourth row choose file you got —> attached in email <—
File name is „firmware_personal_gl20aXXXX.bin“. In right column should be 0x10000
- 9.5 Make sure you mark all rows with ticks at beginning (see photo bellow – red rectangle).
- 9.6 SPI speed: 40MHz, SPI mode: DIO, DoNotChgBin ticked
- 9.7 In bottom right corner BAUD should be on 115200.
- 9.8 In bottom right corner choose COM port -> you should choose COM port number you remembered from step 6 (see photo bellow – orange rectangle).
- 9.9 Click START (bottom left). NOTE: if screen of device keep blinking continuously for more then minute – contact support.
- 9.10 If everything is done. You will see “FINISH” in green box at bottom left (where IDLE was at beginning).
- When this process is done, you should see FINISH and device will restart itself
- On screen of device after some time you should see “Memory OK, Write OK, Read OK, Press BOTTOM button”.
You have 2 options now (we recommend option 2):
1. Press bottom button and you will see WiFi name and password. If you have that WiFi on location – press SELECT and wait some time. Device will download firmware and you will see main menu again.
2. Go back to step 9.4 and choose file which corresponds with your frequency region.
It can be firmware_EU868 OR firmware_US915 OR firmware_AU915 OR firmware_AS923
Press START (step 9.9). After some time, device will restart itself and you will see main menu on device again.
- In Settings-Version of device check if frequency version is correct
- In Settings-Keys of device check if DevEUI, AppEUI, AppKey are same as in Helium Console.
- Enjoy! 🙂